Perfect Black Label Chocolate Sauce Recipe
Table of Contents
Overview of the “Black Label” Concept
Picture this: you’re cozied up at home with a bowl of ice cream, and you drizzle a ribbon of glossy, dark chocolate sauce on top. But not just any sauce—this is “black label,” the most elite class of chocolaty indulgence around. Think of it like the VIP section of chocolate sauces: once you’ve had a taste, there’s no going back.
Defining Artisanal Quality
So, what’s the big deal about artisanal, anyway? It’s all about celebrating the best of the best—using superior ingredients and careful techniques that elevate your sauce from “just okay” to “OMG, I need more!” Here’s what sets a black label or artisanal sauce apart:
- Quality Ingredients: Only the finest cocoa beans and natural flavorings get a ticket to this exclusive party.
- Handcrafted Touch: Each batch is made with care (and love), ensuring consistent flavor and texture every time.
- Rich Flavor Profile: Think layers of deep cocoa notes, balanced sweetness, and a lingering luxurious finish that leaves you craving more.
Premium Positioning
When you hear “black label,” imagine all the bells and whistles that come with a top-tier experience. Luxury, refinement, and a certain “ooh la la” factor that you can’t quite put into words. Here’s why higher cacao content and careful crafting put you in the chocolate sauce VIP lounge:
- Higher Cacao Content: Darker, richer chocolate means a bold taste that sets your sauce apart from the typical sweet drizzles found on grocery shelves.
- Refined Techniques: From the slow melt to precision stirring, each step is done with purpose to ensure that velvety, smooth consistency.
- Elevated Status: Impress your dinner guests, treat yourself, or gift it to someone special—“black label” sauce instantly ups the fancy factor.
Why Make Chocolate Sauce at Home?

Let’s face it: there’s something undeniably special about creating your own chocolaty masterpiece. Whether you’re whisking away stress in the kitchen or showing off your culinary finesse to friends, homemade chocolate sauce holds a certain wow-factor that store-bought can’t touch. Here’s why:
Flavor Superiority
- Fresher, Brighter Taste: When you whip it up yourself, you capture that just-melted glory—no weird preservatives or dull, dusty notes.
- Tailored Sweetness: Like it darker and more intense? Or maybe you’re a milk chocolate fanatic? You call the shots here.
Control Over Ingredients
- Tweak to Perfection: Add a pinch of sea salt, a splash of rum, or a dash of cayenne—whatever makes your taste buds sing.
- Healthier Choices: Cut down on refined sugars or go dairy-free—your sauce, your rules.
Cost and Convenience
- Long-Term Savings: Sure, premium chocolate can be an investment, but think of all those store-bought sauces you’ll no longer buy.
- Easy Access: No last-minute grocery runs if you have the basics on hand. Melt, stir, and voilà—your homemade chocolate sauce is ready for its close-up.
Selecting Premium Dark Chocolate
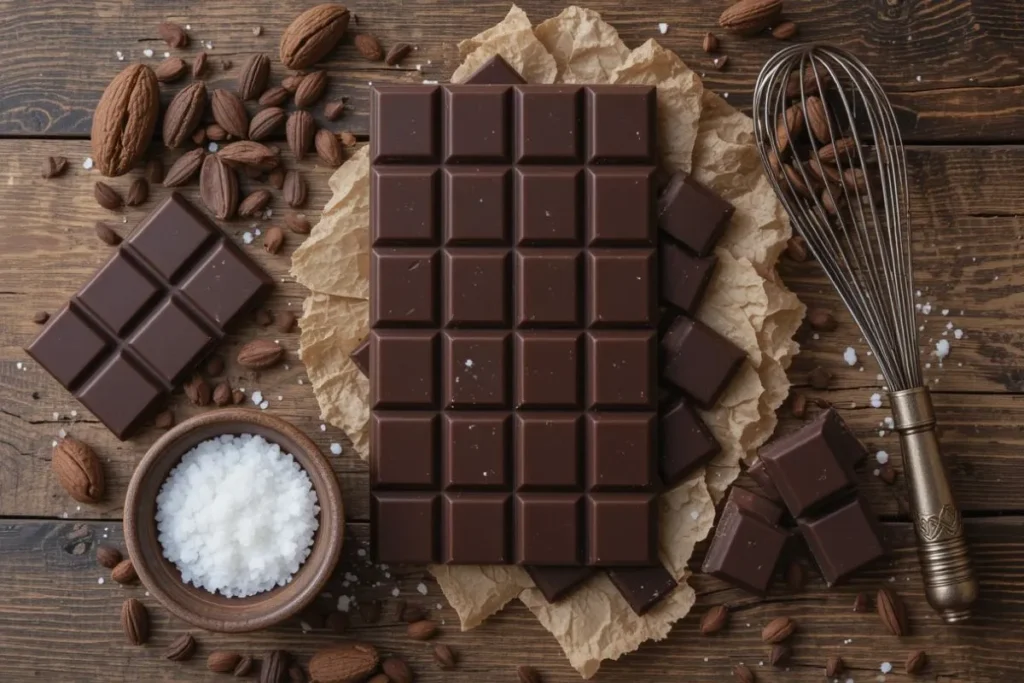
Let’s talk chocolate: rich, silky, and oh-so-indulgent. Nevertheless, dark chocolates vary in their qualities and compositions. Choosing the right one can be the difference between a sauce that’s simply sweet and one that transports you to a chocolate lover’s paradise. Ready to find “the one”? Here’s what you need to know:
What to Look For
- Brand Reputation: We all have that friend who claims “brand doesn’t matter,” but when it comes to chocolate, it totally does. Trust your tongue (and maybe a few online reviews) to find your go-to label.
- Origin: Single-origin vs. blended beans—think of it like fine wine. Certain regions produce distinct flavors, from fruity undertones to deep earthiness.
- Labeling Check: Watch out for sneaky ingredients like fillers, excess sugar, or artificial flavors. The fewer unpronounceable words, the better.
Cacao Percentage
- Flavor Balance: A higher cacao percentage means a more intense chocolate flavor (and often less sweetness).
- Sweetness vs. Bitterness: The sweet spot is usually somewhere between 60–75% cacao for a sauce that’s bold but not bitter.
- Experimentation Encouraged: Love a super-dark sauce? Go 80% or above and add sweetener if needed. Prefer something milder? Start in the 50–60% range.
Chocolate Forms
- Bars: Great for a pure, unadulterated chocolate fix—plus, there’s something satisfying about breaking them up by hand.
- Chips: Convenient little buttons, usually slightly sweet, perfect for quick melting. Keep an eye on the ingredient list for added stabilizers.
- Specialty Baking Chocolate: Chef-approved blocks or wafers designed to melt like a dream. Often pricier, but the smooth consistency can be worth the splurge.
Must-Have Ingredients and Equipment

Yes, you do need the right stuff to make your chocolate sauce dreams come true. If you’re ready to step up from “throw-it-in-a-pot” to “I’m practically a chocolatier,” here’s your trusty checklist:
Essential Components
Core Ingredients
- High-Quality Chocolate: Your sauce’s main character—treat it like the star it is.
- Sweetener of Choice: Sugar, honey, agave, or even maple syrup. Pick your sweet side.
- Dairy or Non-Dairy Liquid: Milk, cream, coconut milk, or almond milk—whatever makes your sauce silky and you happy.
- Optional Flavor Enhancers: Think espresso powder, nut butter, or even a pinch of chili for that spicy edge.
Additional Options
- Sea Salt: A tiny sprinkle can kick the chocolate flavor up a notch.
- Vanilla Extract: A classic supporting role in many sweet confections.
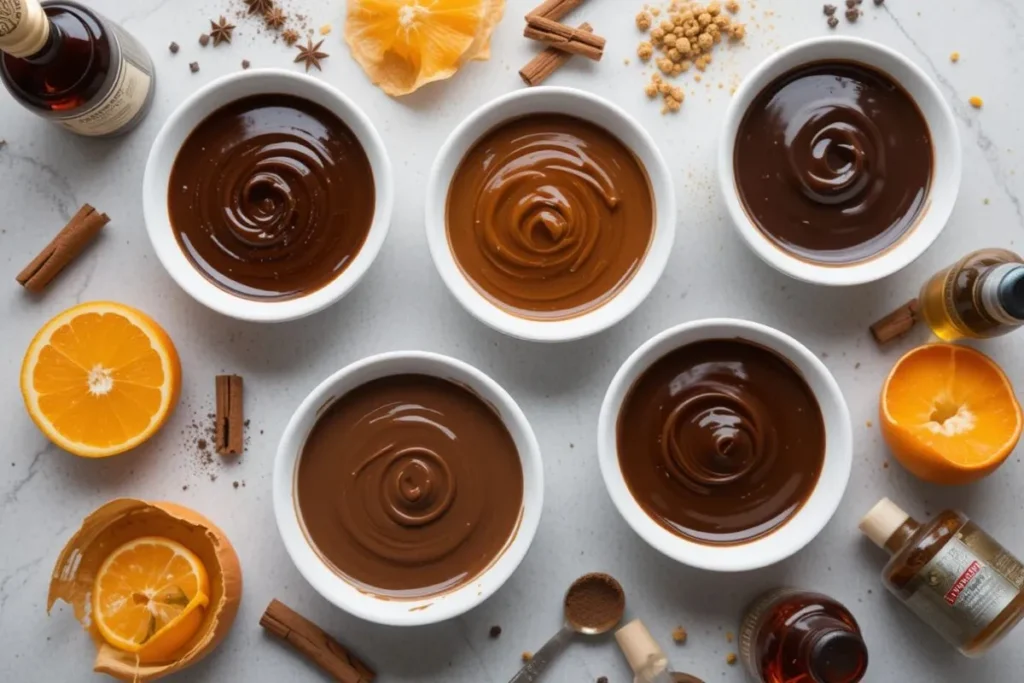
- Liqueurs: Because, why not? A splash of rum, bourbon, or hazelnut liqueur can make your sauce extra adult and extra delicious.
- Spices: Cinnamon, nutmeg, or cayenne—put your own spin on tradition.
Recommended Tools
Cookware and Utensils
- Heavy-Bottomed Saucepan: Prevents hot spots and scorched chocolate drama.
- Whisk: Your best friend for smooth, clump-free sauce.
- Silicone Spatula: For scraping every last drop—no chocolate left behind!
Temperature Control
- Candy Thermometer or Instant-Read Thermometer: Because chocolate can be moody. Keeping tabs on its temperature ensures that glossy, dreamy finish.
Storage Containers
- Glass Jars or BPA-Free Plastic Jars: Keep your sauce airtight and fresh. Plus, they look super cute lined up in your fridge.
- Labels: So you don’t forget how long that jar of chocolatey goodness has been chilling (or so you can mark it as “mine” to deter snack thieves).
Detailed Preparation Steps

Once you’ve gathered your star ingredients and trusty tools, it’s time for some real chocolate alchemy. Don’t worry, we’re not dealing with arcane spells—just melting, stirring, and taste-testing until you achieve that glossy, decadent perfection.
Melting and Combining Ingredients
Method Options
- Double Boiler (Bain-Marie): A classic, gentle method where you place a heatproof bowl over a pot of simmering water. The steam from below gradually melts the chocolate without scorching. Pros: Super controlled heat, minimal risk of burning. Cons: More cleanup and you have to keep an eye on that water level.
- Microwave Heating: Fast and convenient. Zap in short intervals (15–20 seconds) and stir between each blast. Pros: Quick and fewer dishes. Cons: One second too long, and you might end up with a burnt chocolate lump that no whisk can save.
Safety and Flavor Preservation
- Avoid Scorching: Low and slow is the name of the game—rushing usually leads to burnt chocolate heartbreak.
- Watch Out for Water Droplets: Water + melted chocolate = seized up, gritty mess. Make sure your utensils and bowls are nice and dry.
Temperature Management
Optimal Heat Range
- Sweet Spot Alert: Keep your chocolate between about 110°F–120°F (43°C–49°C) when melting, then cool to around 90°F (32°C) if you want that glossy finish.
- Why It Matters: Going too hot can ruin flavor and texture; too cool, and your sauce might become dull or lumpy.
Preventing Burn
- Medium-Low Heat: Slow and steady is the winning strategy—chocolate is famously fussy.
- Stir, Stir, Stir: A constant or frequent whisk helps distribute heat evenly and prevents hot spots.
Fine-Tuning Consistency
Adjusting Thickness
- Too Thin? Let it simmer a bit longer or mix in a little extra chocolate.
- Too Thick? Splash in more dairy (or non-dairy) liquid, or gently re-melt if it starts to set.
Tasting and Tweaking
- Taste as You Go: Don’t be shy—spoon-licking is half the fun. Add a pinch more sugar if it’s too bitter or a dash of salt if it’s too sweet.
- Cocoa Intensity: If you’re craving more depth, add a smidge of cocoa powder or a square of darker chocolate.
Achieving the Ideal Consistency and Texture
Alright, chocolate maestro, you’re almost at the finish line! Getting your sauce to the perfect consistency is both an art and a science. But fear not—armed with a good whisk and a bit of patience, you’ll be drizzling like a pro in no time.
Common Texture Pitfalls
- Graininess: This often occurs when chocolate is overheated or water sneaks into the mix. Keep the heat gentle and utensils dry.
- Clumping: Typically happens if your chocolate seizes. Try adding a spoonful of warmed liquid (milk, cream, or even water) to rescue it.
- Overly Watery Sauce: Maybe you got a little too enthusiastic with the liquid. Simmer gently to thicken or stir in extra chocolate to rebalance.
Whisking Techniques
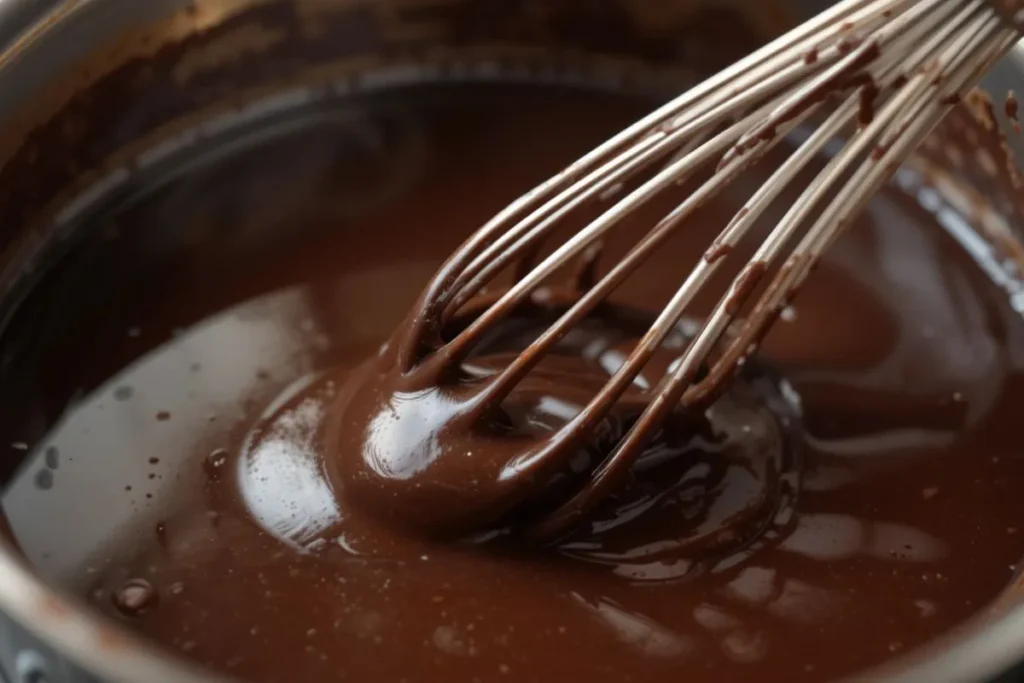
- Steady Motion: Think smooth, circular motions rather than frantic whisk attacks.
- Patience is Key: A few minutes of consistent whisking can transform your sauce into a velvety dream. Don’t rush the magic.
- Finish with a Flourish: Once you see that mirror-like gleam, you know you’ve nailed it.
Taste Adjustments
- Sweetness Shuffle: Got a sauce that’s too bitter? Add a teaspoon of sugar, honey, or agave at a time, tasting as you go.
- Go Darker: If your sauce is too sweet or you want more intense flavor, toss in some extra dark chocolate or a tiny spoonful of cocoa powder.
- Salt & Spice: Never underestimate a dash of salt or a hint of spice—both can bring your sauce to life.
Storing and Prolonging Freshness
You’ve put in the effort to craft a velvety, luxurious chocolate sauce—don’t let it go to waste. The right storage strategy is your ticket to keeping that flavor and texture at peak yumminess.
Proper Containers
Air-Tight Solutions
- Glass Jars: A classic move—think mason jars with tight-fitting lids. They look rustic-chic and keep your sauce tasting fresh.
- BPA-Free Plastic: Lighter and less breakable, but make sure it’s truly air-tight so no sneaky air or odors can slip in.
Labeling and Dating
- Name It and Date It: Grab a marker or sticker and jot down the date you made your sauce. That way, you’ll know at a glance how long it’s been lurking (or thriving) in your fridge.
- Avoid Identity Crises: If you’re a sauce-a-holic with multiple jars, a quick label saves you from accidentally pouring caramel or marinara on your sundae—yikes!
Storage Temperature
Room Temperature vs. Refrigeration
- Room Temp (Short Term): If you plan to devour your sauce within a day or two (no judgment!), you can leave it on the counter. Just keep it sealed, cool, and out of direct sunlight.
- Fridge Time (Longer Term): For maximum longevity, pop that jar in the fridge. The sauce might thicken, but a quick warm-up in the microwave or a gentle reheat on the stove will bring it back to its pourable glory.
Expected Shelf Life
- General Guidelines: Your homemade sauce typically stays fresh for about 1–2 weeks in the fridge—assuming it’s sealed properly.
- Keep an Eye (and Nose) Out: If it smells funky or looks separated in a scary way, it’s time to say goodbye. Better safe than a chocolatey regret.
Creative Serving Ideas and Pairings
You’ve mastered the recipe—now it’s time to share the love with your taste buds (and maybe a friend or two). Whether you’re dressing up a dessert or taking your morning coffee to the next level, this chocolate sauce is a total show-off in the best possible way.
Dessert Applications
- Ice Cream Topping: Drizzle liberally on vanilla, chocolate, or even mint chip—instant sundae upgrade.
- Cake & Pastry Drip: Turn plain pound cake or store-bought pastries into gourmet treats by slathering on a silky chocolate finish.
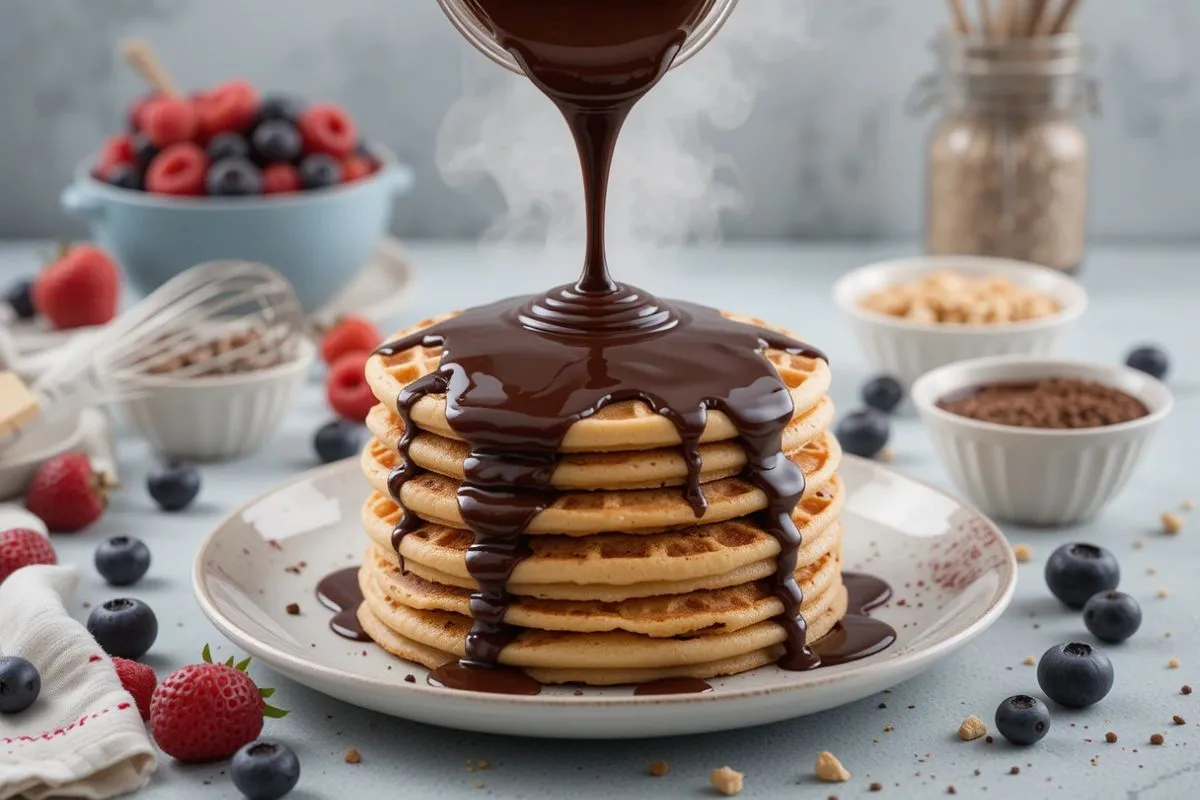
- Crepes & Waffles: Whip up a breakfast masterpiece worthy of brunch café envy. Add strawberries, bananas, or whipped cream for the full effect.
Beverage Twists
- Mocha-Style Coffee: A spoonful of sauce in your coffee is like a hug in a mug—rich, sweet, and oh-so-cozy.
- Hot Chocolate Upgrade: Turn a simple cup of hot milk into liquid decadence. Stir well, top with whipped cream, and prepare for bliss.
- Milkshake Magic: Blend some sauce with ice cream and milk for a thick, dreamy shake. Pro tip: Don’t forget the whipped cream and cherry on top!
Unexpected Uses
- Fresh Fruit Drizzle: Strawberries, raspberries, and pineapple chunks are all next-level with a drizzle of chocolate sauce (hello, chocolate fondue vibes).
- Pretzel Dip: Sweet + salty = match made in snacking heaven. Enough said.
- Yogurt Swirl: Add a grown-up twist to plain Greek yogurt or swirl it through for a marbled treat—sprinkle with granola for bonus crunch.
Flavor Variations and Enhancements
Why settle for just one version of chocolate paradise when you can mix it up? Whether you’re craving a little heat or a boozy edge, these add-ins will transform your sauce into something uniquely you.
Spiced Chocolate
- Cinnamon: A cozy staple for a warm, sweet hint.
- Cayenne: The bold risk-taker—just a sprinkle can give your sauce a subtle, spicy kick.
- Nutmeg: Earthy and aromatic; perfect for those cozy, “cuddle up on the couch” vibes.
Liqueur-Infused
- Rum: Adds a tropical flair and a touch of sweetness.
- Bourbon: Think smoky depth and a slight caramel note—adult-approved indulgence!
- Fruit Liqueurs: Raspberry, orange, or cherry liqueurs are your secret weapon for a fruity, sophisticated twist.
Nutty & Fruity Add-Ons
- Chopped Hazelnuts: A classic partner that brings a satisfying crunch (Nutella fans, unite!).
- Orange Zest: Brightens up your sauce with a citrusy zing—like sunshine in chocolate form.
- Raspberry Purée Swirl: Take your sauce to dessert artistry level by swirling in a ribbon of tart berry flavor.
Common Pitfalls and How to Fix Them
Even the best home chocolatiers hit a snag now and then. Fear not—your sauce can be saved! Here’s how to dodge the most common hurdles and come out with a silky, drool-worthy sauce.
Thick or Thin Sauce
- Too Thick: Splash in a bit more milk, cream, or non-dairy liquid while stirring over low heat. Stir gently and watch as your sauce goes from cement to dreamy drizzle.
- Too Thin: Add a square (or two) of extra chocolate, or let the sauce simmer a bit longer to reduce. Patience is key—let that heat work its magic.
Overly Sweet or Bitter
- Too Sweet: Don’t let your sugar tooth get the best of you. Mix in a small amount of darker chocolate or a pinch of salt to mellow that sweetness.
- Too Bitter: A teaspoon of sugar or a drizzle of honey can rescue your sauce from the dark side.
Lumpy or Separated Mixtures
- Whisk to the Rescue: If lumps are minor, whisk like you mean it. This often solves small clumps.
- Gently Reheat: For major separation or stubborn lumps, return the sauce to low heat and stir in a tiny bit of warmed liquid until everything reunites in velvety harmony.
Temperature Mishaps
- Signs of Burning: A scorched smell or a chalky texture are red flags. Remove from heat ASAP and see if stirring can salvage it. If it’s truly burnt, you might have to start over—sorry!
- Under-Melted Chocolate: Keep stirring and slowly raise the heat. If you spot any unmelted chunks, break them up with the back of your spoon or spatula.
Frequently Asked Questions : Black Label Chocolate Sauce Recipe Bulk Recipe
What Makes This Chocolate Sauce ‘Black Label’?
Think of “black label” as the VIP section for chocolate sauces. It’s all about:
- Artisanal Standards: Small-batch production with a handcrafted touch.
- Premium Cacao Levels: Higher-quality beans and a meticulous selection process.
- Refined Techniques: Slow melting, precise temperature control, and a commitment to maximum flavor.
Which Ingredients Are Essential for the Recipe?
While preferences vary, at minimum you’ll need:
- High-Quality Chocolate: The star ingredient (and it deserves top billing).
- Sweetener: Sugar, honey, or agave—whatever sweetens your day.
- Liquid: Dairy or non-dairy milk or cream for that velvety texture.
- Optional Enhancers: Sea salt, vanilla extract, espresso powder, or a splash of liqueur to elevate your sauce.
Why Does the Cacao Percentage Matter?
- Flavor and Sweetness: Higher cacao percentages mean a more intense chocolate flavor, but often less sweetness.
- Bitterness Balance: Going too high can yield a bitter sauce; too low might be too sweet. Find your personal sweet spot!
What Kitchen Tools Are Needed?
- Heavy-Bottomed Saucepan: Avoid those hot spots that can scorch your chocolate.
- Whisk or Silicone Spatula: Keep everything smooth and lump-free.
- Thermometer: Optional but oh-so-helpful for maintaining that chocolate’s “happy place.”
How Do I Actually Make It Step-by-Step?
- Melt & Mix: Use a double boiler or microwave to gently melt your chocolate.
- Stir & Combine: Whisk in sweetener and liquid, tasting as you go.
- Temperature Control: Keep things low and slow—rushing leads to lumps or burns.
How Should I Store the Finished Sauce and For How Long?
- Containers: Airtight jars or BPA-free plastic—just make sure they seal well.
- Fridge vs. Room Temp: If you’ll use it quickly, the countertop is fine for a day or two. For longer storage (about 1–2 weeks), keep it chilled.
- Shelf Life: If it emits an off odor or exhibits unusual texture changes, it’s time to discard it.
What Are Some Recommended Ways to Serve It?
- Desserts Galore: Drizzle on ice cream, cakes, pastries, or crepes.
- Beverage Boost: Stir into coffee, hot chocolate, or milkshakes.
- Fancy Flair: Try a swirl on the plate before placing your dessert on top—it’s your moment of plating zen!
What Common Mistakes Should I Avoid?
- Overheating: Burnt chocolate is no friend.
- Excess Water: Even a drop can seize up your chocolate.
- Poor Quality Ingredients: The sauce is only as good as what goes into it.
- Rushing the Process: Low, slow, and steady wins the chocolate race.
Can I Personalize the Flavor?
- Spices: Cinnamon, nutmeg, chili—get creative.
- Extracts: Peppermint, almond, or orange to give your sauce a signature twist.
- Mix-Ins: Nutty bits, espresso powder, or even bacon crumbles (yes, it’s a thing) for a wild, savory spin.
How Is Chocolate Sauce Different from Ganache?
- Consistency: Ganache is typically thicker, often used as a cake filling or truffle base.
- Ingredients: Ganache is primarily chocolate and cream. Chocolate sauce may include additional sweeteners, liquids, and flavor enhancers.
- Purpose: Chocolate sauce is great for drizzling and dipping; ganache is your go-to for frosting and truffle-making.
Can I Use a Regular Chocolate Bar Instead of Specialty Baking Chocolate?
- Pros: Easily found in any grocery store, can have interesting flavor notes if it’s a premium bar.
- Cons: May have additives (like stabilizers or extra sugar) that affect melting and taste.
- Workaround: If you love the flavor, go for it—just pay attention to the melting process and adjust sweetness as needed.
What are some alternative uses for chocolate sauce besides topping desserts?
- Beverage Enhancer: Stir into coffee, hot cocoa, or milkshakes.
- Batter Boost: Add a swirl to brownie or pancake batter.
- Gifting: Fill mini jars and hand them out as homemade presents. Who doesn’t love a little jar of chocolate happiness?
Conclusion
Congratulations, you’ve reached the delightful finish line! By now, you’re practically a chocolate sauce virtuoso—armed with knowledge about premium ingredients, silky-smooth techniques, and enough flavor twists to wow even the pickiest palates. Whether you’re drizzling this “black label” goodness over a sundae, gifting it in a fancy jar, or (let’s be honest) sneaking spoonfuls straight from the pot, you’re in for a treat that’s truly next-level.
Here’s to a world where chocolate sauce is always within reach—because a little luxurious drizzle can turn any moment into something worth savoring. Now, go forth and share your newfound chocolate expertise with friends, family, or, of course, just yourself. After all, you’ve earned it—one glorious, velvety spoonful at a time. Enjoy!

