
Apple And Honey-Glazed Chicken Tenders Recipe Using Fresh Apples
Table of Contents
Introduction :
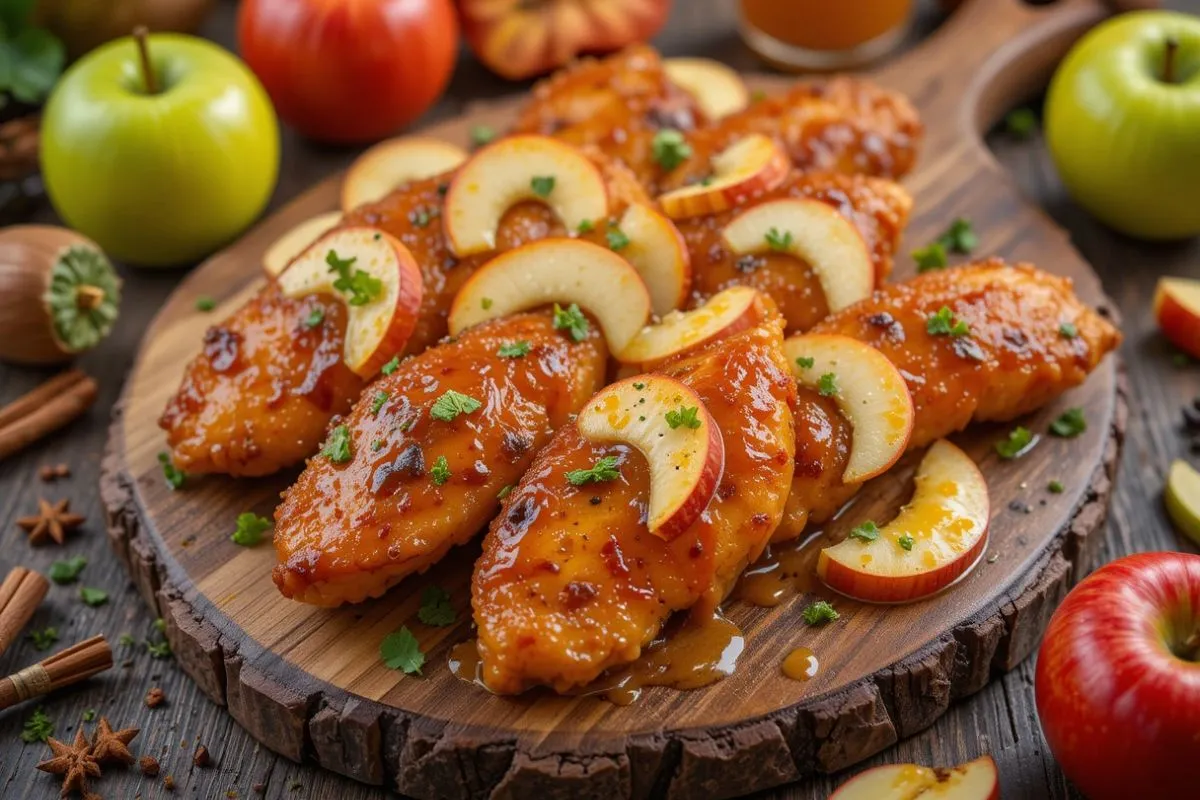
Apple & Honey-Glazed Chicken Tenders with Fresh Apples—just the name alone promises a sweet-and-savory explosion, right? Picture your kitchen filled with the scent of caramelized honey, fresh apples sizzling to perfection, and the juiciest chicken tenders you’ve ever tasted. Hungry yet? Good, because this recipe is about to bring a splash of orchard-fresh sweetness to your dinner table—and we’re not holding back on the insider tips. Stick around to learn everything from choosing the perfect apples to nailing that irresistible glaze texture. Believe us – you won’t want to miss what’s coming next!
Why You’ll Love This Sweet-and-Savory Chicken Recipe
A Perfect Blend of Flavors
Who said apples are just for pies? Imagine tangy-sweet apples mingling with golden honey and soaking into tender, juicy chicken. You get:
- A caramelized finish that tastes like a mini-festival for your taste buds
- A fruity twist that levels up your usual chicken dinner
- Zero boring bites, because every mouthful bursts with sweet-and-savory deliciousness
Kid-Friendly and Crowd-Pleasing
Move over, chicken nuggets—Apple & Honey-Glazed Chicken Tenders are here!
- Fun to eat: Perfectly sized for little hands (and big kid appetites, too)
- Universal appeal: The sweet glaze and mild chicken flavor make it a hit at any get-together
- Fuss-free: Keeps picky eaters happy without sacrificing taste for the grown-ups
Weeknight Dinner Hero
Busy evening? No problem!
- Minimal prep: A few chops, a quick glaze, and you’re golden
- Quick cook time: Less hanging out by the stove, more time for everything else on your to-do list
- Little cleanup: Because we all love a recipe that doesn’t leave us drowning in dishes
Gathering Your Essentials
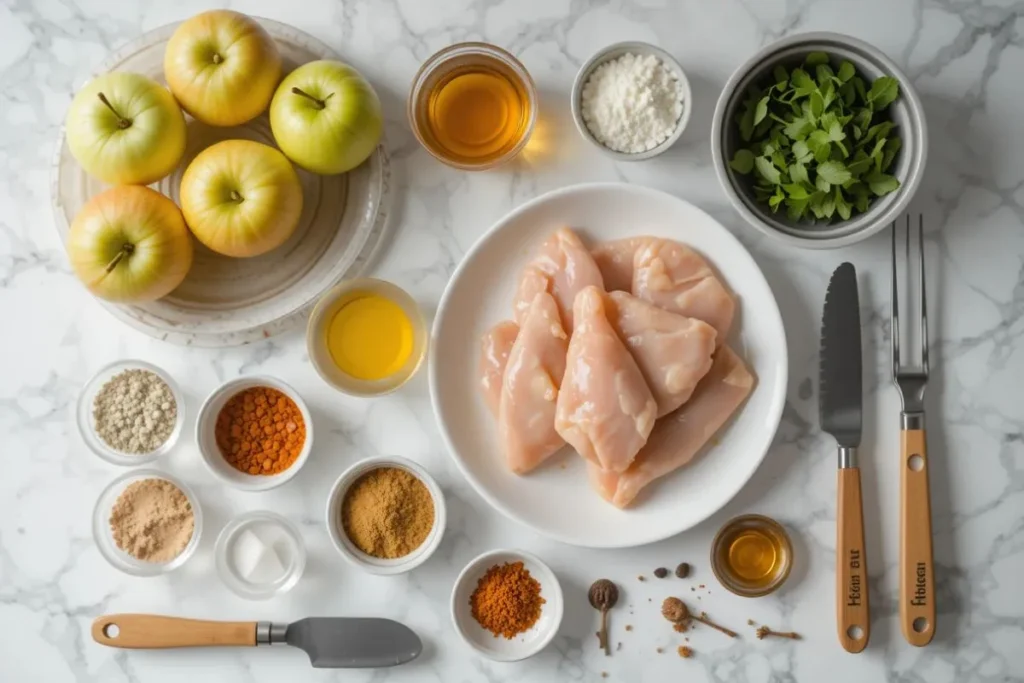
Ready to make the magic happen in your kitchen? Let’s talk about the MVPs that bring this sweet-and-savory recipe to life.
Key Ingredients
- Chicken Tenders
- Tenderness & Flavor: Opt for high-quality chicken tenders for that melt-in-your-mouth factor.
- Why Tenders? They cook quickly and soak up glazes like a sponge—yes, we’re talking total flavor infusion.
- Fresh Apples
- Best Varieties: Granny Smith for a tart twist, Honeycrisp for extra sweetness, or mix and match for a flavor party.
- Seasonal Tips: Pick apples that are crisp to the bite—limp apples = dull flavor.
- Prep Like a Pro: Peel, core, and slice them evenly for quick, even cooking.
- Honey
- Quality Counts: Raw or local honey often has a richer, more complex taste.
- Flavor Profile: Light honey gives you a delicate sweetness, while darker honey brings a bolder flavor.
- Supporting Spices & Aromatics
- The Usual Suspects: Salt and pepper are your ride-or-die seasonings.
- Get Adventurous: Cinnamon, paprika, or a dash of chili can add dimension.
- Herbal Help: Rosemary, thyme, or sage can elevate the apple-honey combo to gourmet status.
Kitchen Tools & Equipment
- Must-Have Utensils
- Skillet or Pan: A good-quality one will help you achieve that luscious caramelization.
- Sharp Knife: For clean apple slices and evenly trimmed chicken tenders.
- Meat Thermometer: Ensures your chicken is perfectly cooked—because nobody loves guesswork.
- Helpful Extras
- Brining Container: If you want next-level juiciness, brining is your secret weapon.
- Basting Brush: Makes glazing quick, easy, and oh-so satisfying.
All set? Great—because this dream team of ingredients and gear is about to transform plain old chicken into a mouthwatering masterpiece!
Preparing the Chicken for Success
Before your chicken tenders hit the heat and transform into a culinary masterpiece, a bit of extra love and care goes a long way. With these playful yet practical tips, you’ll ensure that every piece is primed, pampered, and perfectly prepped for its big debut!
Optional Brining or Marinating
Brining or marinating isn’t just a fancy chef trick—it’s like giving your chicken a mini spa treatment before the main event.
- Why It Works:
- Deep Flavor Infusion: Think of brining as the secret to locking in moisture and flavor. When you soak your chicken in a saltwater solution, it helps the meat absorb essential juices, making every bite irresistibly tender and succulent.
- Flavor Boost: Marinating goes one step further by adding layers of exciting flavors. Whether you’re using citrus, garlic, or fresh herbs, marinating lets the chicken absorb those vibrant notes, ensuring that every morsel is bursting with character.
- How to Do It:
- Craft Your Mixture:
- For a brine, combine water, a generous pinch of salt, and perhaps a dash of sugar or your favorite herbs.
- For a marinade, mix olive oil, lemon juice, garlic, and herbs to create a tangy, aromatic bath.
- Soak Time:
- Let your chicken tenders luxuriate in the brine or marinade for at least 20–30 minutes. If you’re planning ahead, an overnight soak in the refrigerator can work wonders.
- Prep for Perfection:
- Once your chicken has had its flavor bath, give it a light rinse (if brined) and then pat it dry. This ensures that the exterior is free of excess moisture, setting the stage for a beautifully crisp finish.
- Craft Your Mixture:
Trimming & Pat-Dry Technique
Sometimes, the smallest steps make the biggest difference. Trimming and drying your chicken tenders properly is like giving them a fresh start before the spotlight hits.
- Trimming:
- Clean and Neat: Remove any excess fat or stray bits to create a uniform surface. This not only improves the dish’s appearance but also ensures that every tender cooks evenly.
- Pat-Dry:
- The Dry Advantage: After trimming, gently pat your chicken tenders dry with paper towels. Removing any surface moisture is crucial because it prevents steaming and allows for that sought-after, golden-brown crust to form during cooking. Imagine it as giving your chicken a crisp, flawless debut on the plate!
Safety Tips
Handling raw poultry calls for a few extra precautions to keep both you and your kitchen safe and spotless.
- Hygiene First:
- Wash Those Hands: Always wash your hands with warm, soapy water before and after handling raw chicken.
- Sanitize Your Space: Ensure that all surfaces, utensils, and cutting boards that come into contact with the raw poultry are thoroughly cleaned and disinfected.
- Separate Tools:
- Dedicated Equipment: Use separate cutting boards and knives for raw chicken, or meticulously clean shared tools to avoid any cross-contamination.
- Proper Storage:
- Keep It Cool: If you’re not ready to cook immediately, store your prepped chicken in an airtight container in the refrigerator. This keeps it fresh and minimizes the risk of bacteria growth.
- Cooking Safety:
- Temperature Check: Always cook your chicken to the recommended internal temperature (about 165°F or 74°C) to ensure it’s safe to enjoy.
Crafting the Apple-Honey Glaze
Get ready to mix up a glaze that’s as delightful as it is decadent—a true showstopper that balances the sweet charm of honey with the bright zest of fresh apples!
Step-by-Step Glaze Creation: Balancing Sweetness and Acidity
- Start Simple:
- Combine your star ingredients: freshly grated or diced apples and high-quality honey in a small saucepan.
- Zesty Twist:
- Add a splash of lemon juice or apple cider vinegar to introduce a refreshing tang that cuts through the sweetness.
- Gentle Heating:
- Warm the mixture over low heat, stirring frequently. This helps the flavors meld together and gradually thickens the glaze.
- Taste and Tweak:
- Keep tasting as it simmers. More honey for extra sweetness or a bit more citrus for that perfect tang—it’s all about balance!
Apple Prep: Best Ways to Cut, Grate, or Dice for the Glaze
- Grating:
- Why: Creates a fine texture that melts seamlessly into the glaze.
- How: Use a coarse grater for quick, even results.
- Dicing:
- Why: Offers delightful little bursts of apple flavor with every bite.
- How: Cut the apples into small, uniform cubes so they hold their shape as they cook.
- Slicing:
- Why: For a bit of texture and a more rustic feel in your glaze.
- How: Slice the apples thinly if you prefer noticeable pieces in your sauce.
Pro Tip: Choose apples that are crisp and firm. They not only provide the best texture but also maintain their flavor and structure during the cooking process.
Consistency Matters: How to Troubleshoot if the Glaze is Too Thin or Thick
- If Too Thin:
- Simmer It Down: Allow the mixture to cook a bit longer uncovered to reduce and thicken naturally.
- Cornstarch Hack: Mix a tiny pinch of cornstarch with water and whisk it into the glaze slowly, stirring constantly.
- If Too Thick:
- Loosen It Up: Add a splash more apple cider or even a bit of water, stirring until you achieve that silky, smooth texture.
- Keep Testing:
- Remember, the perfect glaze should be thick enough to cling to your chicken but fluid enough to drizzle gracefully over every tender.
Flavor Boosters: Adding Spices, Citrus, or Even a Spicy Kick
- Warm Spices:
- Try a pinch of cinnamon or nutmeg to bring a cozy, aromatic depth to your glaze.
- Extra Citrus:
- A dash of orange zest or an extra squeeze of lemon can brighten the overall flavor profile.
- Spicy Touch:
- Feeling adventurous? Add a few red pepper flakes or a drop of sriracha for that subtle heat which balances the sweetness.
- Experiment and Enjoy:
- The beauty of a homemade glaze is in its versatility—feel free to mix and match until you hit that perfect note!
Cooking Methods to Suit Your Style

Whether you’re a hands-on chef or a laid-back cook, we’ve got a cooking method to match your mood and schedule. Here are three playful approaches to bringing your Apple & Honey-Glazed Chicken Tenders to life:
Stovetop Sear & Simmer
For those moments when you crave a fast yet flavor-packed finish, the stovetop method is your best friend.
- Heat Level and Timing Cues:
- Sear It Up: Start with a medium-high heat to get your chicken beautifully browned and sealed in all that flavor.
- Simmer to Perfection: Once seared, reduce the heat to a gentle simmer. This allows the apple-honey glaze to reduce, thicken, and lovingly coat every tender morsel.
- Basting and Reducing the Glaze for Maximum Flavor:
- Baste, Baste, Baste: Keep a basting brush handy and generously spoon your glaze over the chicken as it simmers.
- Layer on the Flavor: With each baste, the glaze builds a deep, caramelized layer that transforms your dish into a flavor explosion.
Oven-Baking Approach
When you need a more hands-off method that still delivers a mouthwatering result, the oven-baking approach is your ticket to success.
- Temperature Guidelines:
- Preheat: Set your oven to 400°F (204°C) for a perfectly balanced roast.
- Check the Temp: Bake until your chicken reaches an internal temperature of 165°F (74°C), ensuring juicy, safe-to-eat goodness.
- When and How to Apply the Glaze for Best Results:
- Double Duty Cooking: Start by baking the chicken tenders until they’re nearly cooked through.
- Glaze Finale: Then, generously brush on your apple-honey glaze and return them to the oven for a few more minutes.
- Perfect Finish: This method gives you a lovely, caramelized finish without the risk of the glaze burning—just pure, baked perfection.
Grilling Option
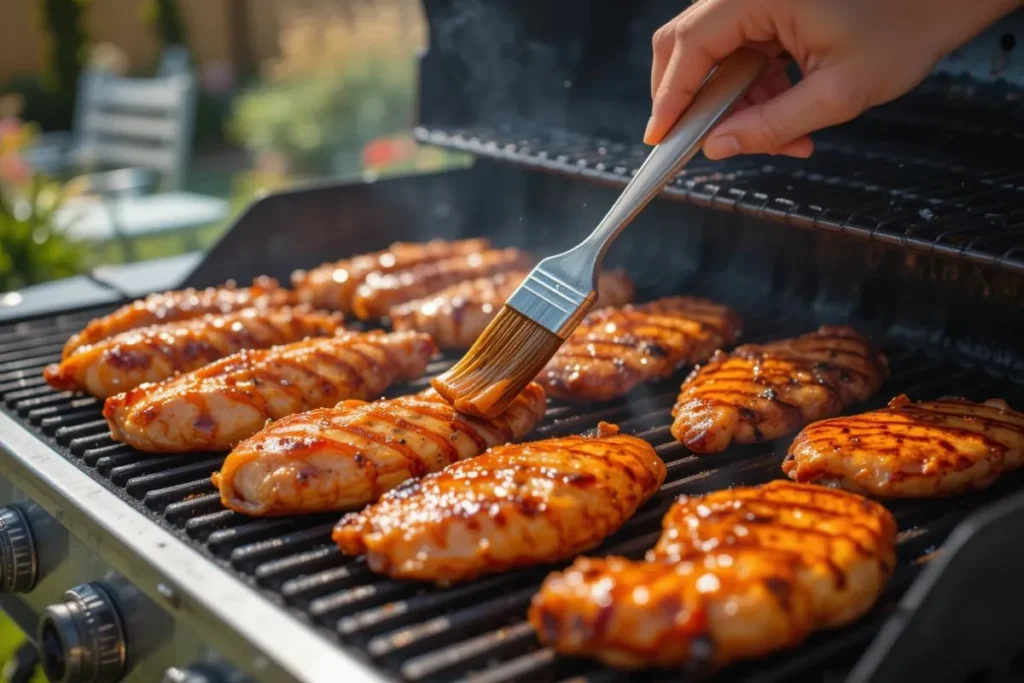
For those sunny days when you crave a bit of smoky charm, grilling your chicken tenders can elevate the dish with a hint of char and an extra layer of fun.
- Preheating and Oiling the Grates:
- Fire It Up: Preheat your grill to a high temperature to get those impressive grill marks.
- Oil It Right: Lightly oil the grates to prevent sticking and to ensure a smooth, even sear on your chicken.
- Basting Intervals and Avoiding Flare-Ups:
- Regular Basting: Keep your basting brush close by and apply your apple-honey glaze at regular intervals. This not only boosts flavor but also keeps the chicken moist.
- Mind the Flare-Ups: Watch for any flare-ups from dripping glaze. If they occur, move the chicken to a cooler part of the grill to maintain that perfect balance of char and succulence.
Step-by-Step Instructions for a Foolproof Meal
Get ready to embark on a culinary adventure where every step is designed to help you create a masterpiece that’s both delicious and foolproof!
Prep Work: Gathering Ingredients, Preheating, and Organizing Your Workspace
- Gather Your Ingredients:
- Collect your star players—chicken tenders, fresh apples, honey, and your favorite spices.
- Double-check you have all your supporting cast items like herbs, salt, pepper, and any optional flavor boosters.
- Preheat & Prepare:
- Whether you’re opting for the stovetop, oven, or grill, preheat to the recommended temperature so you’re all set when the action begins.
- Organize Your Workspace:
- Lay out all your essential utensils—cutting board, sharp knife, basting brush, thermometer, and any other must-have tools.
- Keep your ingredients within arm’s reach to ensure a smooth, stress-free cooking session.
Season & Sear (or Bake/Grill): Getting That First Layer of Flavor Locked In
- Season Generously:
- Dust your chicken tenders with salt, pepper, and a sprinkle of your chosen spices to kick off the flavor journey.
- Sear for Succulence:
- Stovetop Method: Heat your pan on medium-high and sear the chicken until you achieve a beautiful golden-brown crust.
- Oven/Grill Method: Start with a preheated oven or grill, and allow the chicken to develop that same irresistible exterior.
- Lock In the Flavor:
- This initial burst of heat is crucial—it seals in the juices and sets the stage for the glaze to work its magic.
Add the Glaze: Timing Your Glaze Application So It Caramelizes Perfectly
- Perfect Timing is Key:
- Once your chicken is nearly cooked or has a robust sear, it’s time to introduce your delectable apple-honey glaze.
- Generous Glaze Application:
- Use your basting brush to coat every tender evenly. Ensure that the glaze covers all surfaces to maximize every burst of flavor.
- Allow for Caramelization:
- Let the glaze continue to cook for a few more minutes. This extra time transforms the glaze into a glossy, caramelized coating that clings lovingly to each piece of chicken.
Finishing Touches: Resting the Chicken and Final Garnish Ideas
- Let It Rest:
- Once cooked to perfection, remove your chicken tenders from the heat and let them rest. This step is essential—it redistributes the juices and ensures every bite is moist and flavorful.
- Add a Final Flourish:
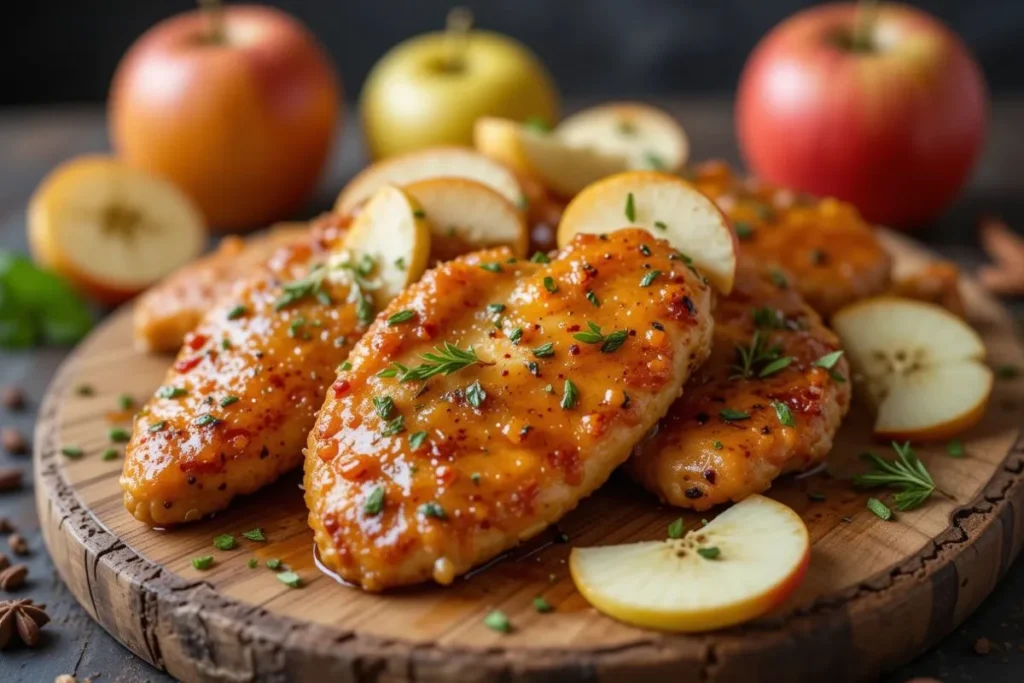
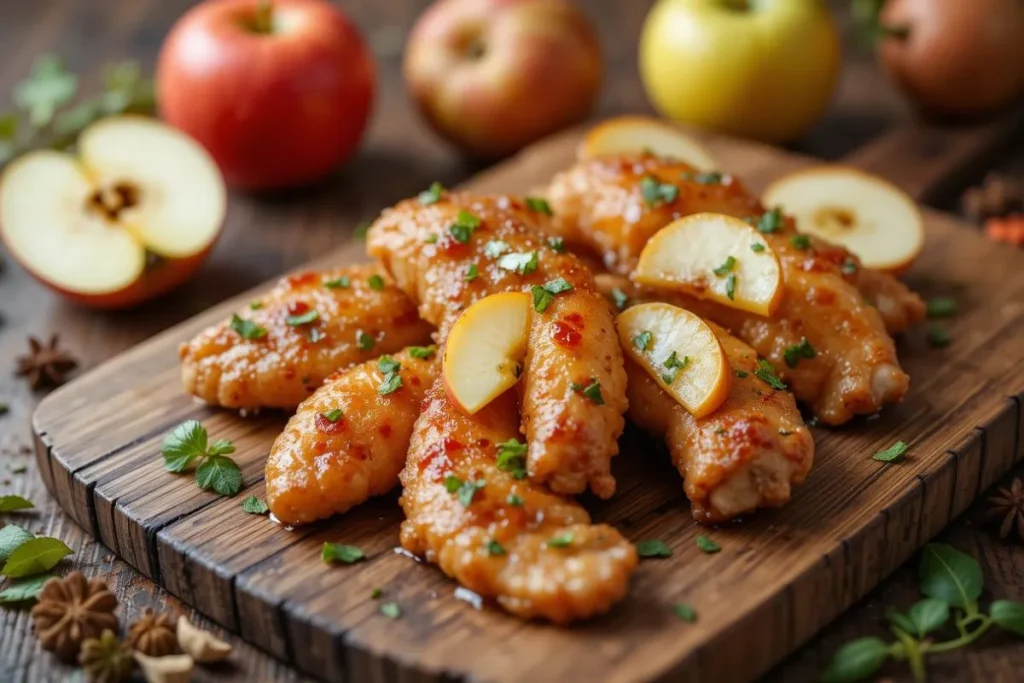
- Think about a light garnish: a sprinkle of fresh herbs, a few delicate apple slices, or even an extra drizzle of honey. These little touches not only elevate the presentation but also add a final burst of flavor.
- Plate & Enjoy:
- Arrange your chicken tenders on a plate alongside your favorite sides. Before you dive in, take a moment to appreciate what you’ve created.
Serving Up Your Masterpiece
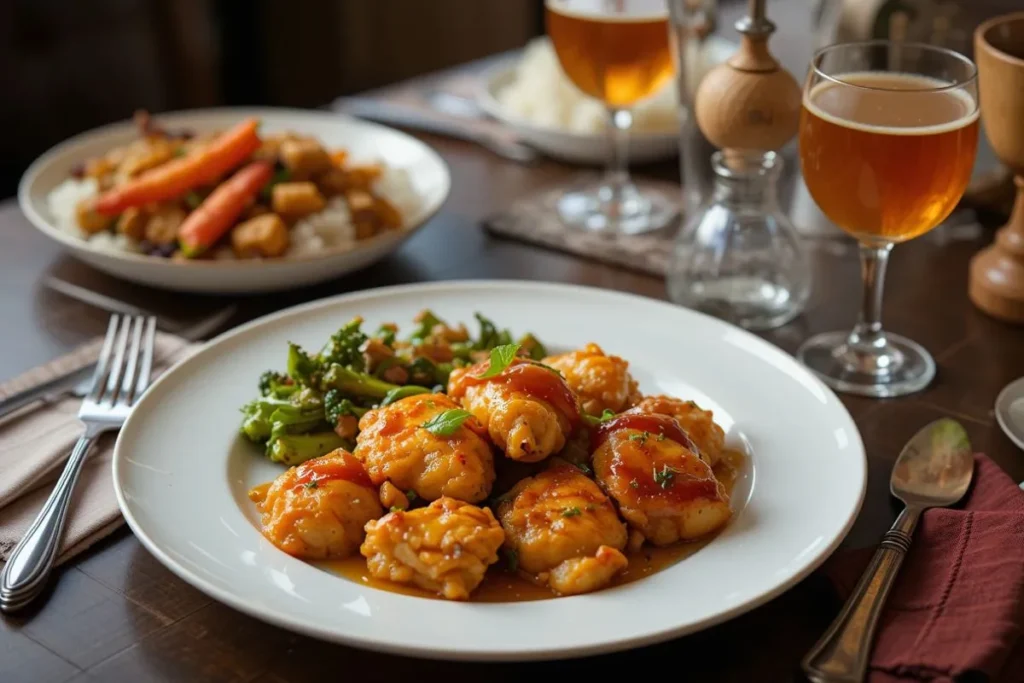
Now that your Apple & Honey-Glazed Chicken Tenders are a sizzling success, it’s time to dress up the table and turn your creation into a full-fledged feast. Let’s dive into some delicious side dishes, perfect pairings, and presentation tips to make every bite as memorable as the first.
Side Dishes & Pairings
Elevate your meal with sides that complement the sweet and savory profile of your chicken:
- Roasted Veggies:
- Caramelized carrots, Brussels sprouts, or a medley of seasonal vegetables bring out the natural sweetness of the glaze.
- Rice or Quinoa:
- A fluffy bed of rice or protein-packed quinoa absorbs every drop of that delectable sauce.
- Fresh Salads:
- A crisp green salad or a tangy apple slaw provides a refreshing contrast to the rich flavors.
- Mashed Potatoes:
- Creamy mashed potatoes are the ultimate comfort side, perfectly balancing the zing of your glazed chicken.
- Beverage Suggestions:
- Apple Cider: A crisp, refreshing cider enhances the apple notes.
- White Wine: A light, fruity white wine pairs wonderfully with the dish’s sweetness.
- Sparkling Water: For a non-alcoholic option that cleanses the palate and keeps the flavors in focus.
Presentation Tips
Make your dish look as good as it tastes with these creative presentation ideas:
- Layer with Fresh Apple Slices or Herbs:
- Arrange thin slices of apple or a sprinkle of fresh herbs (like parsley or rosemary) on top to add a burst of color and a hint of extra flavor.
- Garnish with Toasted Nuts or Seeds:
- A few toasted almonds, walnuts, or even pumpkin seeds not only introduce a delightful crunch but also a nutty aroma that ties the whole dish together.
- Elegant Plating:
- Consider serving the chicken on a beautifully arranged platter with the sides artistically placed around it. A drizzle of extra glaze over the top is the cherry on the cake!
Avoiding Common Pitfalls
Even the most stellar recipes can sometimes hit a snag. Here’s your handy guide to sidestepping common kitchen missteps so that your Apple & Honey-Glazed Chicken Tenders turn out flawless every single time!
Overcooked or Dry Chicken
- Watch That Temperature:
- Invest in a trusty meat thermometer and aim for an internal temperature of 165°F (74°C). This ensures your chicken stays juicy without drying out.
- Timing Is Everything:
- Keep a close eye on the clock—overcooking is the enemy of moist, tender chicken. Just a few more minutes could transform everything!
Soggy Texture
- Crisp It Up:
- After searing or baking, make sure to let any excess sauce drain off. Overloading on glaze can sometimes weigh down your tenders.
- Avoid Overcrowding:
- Whether you’re pan-frying or baking, give each piece enough space. Crowded pans trap steam, which can lead to a soggy finish instead of that coveted crisp exterior.
Mushy Apples
- Choose the Right Varieties:
- Choose firmer apple varieties, such as Granny Smith or Honeycrisp, for the best texture. These hold their shape better under heat and add a delightful crunch.
- Mind the Cooking Time:
- Add the apples towards the end of the cooking process or use them in a grated form. This helps preserve their texture, ensuring they complement rather than overpower your dish.
Glaze Problems
- If It’s Too Runny:
- Let your glaze simmer a bit longer to reduce it, or mix in a small amount of cornstarch slurry (a pinch of cornstarch whisked into a little water) to thicken things up.
- If It’s Too Thick:
- Thin it out by stirring in a splash of apple cider or water gradually. This will help achieve that perfect, silky consistency that clings to your chicken.
- Consistency is Key:
- Regularly stir and test your glaze as it cooks. A balanced glaze is the secret to a beautifully caramelized finish every time.
Storing & Reheating Leftovers
When your delightful creation leaves a few extra bites, here’s how to keep the magic alive until your next round of delicious indulgence.
Proper Storage
- Airtight Containers:
- Store your chicken tenders in a snug, airtight container to lock in flavor and prevent any unwanted fridge odors from sneaking in.
- Refrigeration Times:
- Enjoy your leftovers within 3-4 days to keep them at their peak taste and texture. If you need to stash them longer, consider freezing for up to 2 months—just make sure to label and date your container!
Reheating for Best Results
- Oven Approach:
- Preheat your oven to 375°F (190°C). Place the chicken on a baking sheet, cover lightly with foil to retain moisture, and heat for about 10-15 minutes. This method revives that crispy exterior while warming the interior evenly.
- Stovetop Revival:
- Heat a non-stick pan over medium heat and add a splash of water or a drizzle of extra glaze. Gently warm your tenders, turning occasionally, until they’re heated through and re-crisped to perfection.
- Microwave Method:
- If you’re in a hurry, place your tenders on a microwave-safe plate. Cover loosely with a microwave-safe lid to trap some steam, and heat in short bursts (about 30 seconds at a time) to avoid sogginess.
Make-Ahead Tips
- Prepping in Advance:
- For busy days, you can prepare your apple-honey glaze or even marinate the chicken ahead of time. Store these components separately so when you’re ready to cook, all you have to do is combine and enjoy.
- Batch Cooking:
- Consider doubling the recipe and storing portions in individual containers. This way, you have ready-to-go meals that are as convenient as they are delicious.
FAQ
Which Apple Varieties Work Best?
Firm apple varieties such as Granny Smith and Honeycrisp work best because they maintain their texture during cooking and offer a balanced tart-sweet flavor. These apples provide a crisp bite that complements the glaze without turning mushy. Their natural firmness ensures consistent results in both the glaze and as a garnish.
Can I Bake Instead of Fry or Grill?
Yes, baking is a viable alternative to frying or grilling and can yield excellent results. Baking provides a controlled environment that promotes even cooking and a delicious, caramelized finish when the glaze is applied. Simply preheat your oven to the recommended temperature and monitor the internal temperature of the chicken for optimal doneness.
How Do I Keep the Glaze from Getting Watery?
To keep the glaze from becoming watery, ensure that the apples are finely grated or diced so they release just enough moisture without over-saturating the mixture. Simmer the glaze slowly over low heat to allow excess liquid to evaporate and to achieve the desired consistency. If needed, a small cornstarch slurry can be incorporated to further thicken the glaze.
Is This Recipe Kid-Friendly?
Yes, this recipe is very kid-friendly due to its mild, naturally sweet flavors that appeal to young palates. The combination of apple and honey provides a familiar taste while introducing a subtle complexity. Additionally, the dish offers a healthier alternative to traditional fried options, making it a great choice for family meals.
What Are Some Other Side Dishes to Try?
Complement your chicken tenders with side dishes such as roasted vegetables, a fresh green salad, or creamy mashed potatoes for a well-rounded meal. Grain-based options like rice or quinoa also pair nicely by absorbing the glaze’s rich flavors. These sides offer a balance of textures and flavors that enhance the overall dining experience.
Can I Make This Recipe Ahead of Time for a Party?
Yes, you can prepare several components of the recipe in advance to ease your party planning. Consider marinating the chicken, pre-chopping the apples, or even making the glaze ahead of time and storing it separately. When it’s time to serve, simply combine and reheat the components using the recommended methods for best results.
Conclusion
We hope this journey through the world of Apple & Honey-Glazed Chicken Tenders has inspired you to try something delightfully different in your kitchen. From selecting the perfect apples to mastering the art of the glaze, every step is designed to elevate your cooking experience and leave you with a dish that’s both healthy and irresistibly tasty.
Remember, great meals are all about balancing flavors and having fun along the way—so don’t be afraid to experiment and make the recipe your own. Happy cooking, and may your next bite be as satisfying as the journey that led you here!
Key Takeaway: By combining quality ingredients, meticulous prep, and versatile cooking methods, you can create Apple & Honey-Glazed Chicken Tenders that boast a perfect balance of sweet and savory flavors, making them a foolproof and crowd-pleasing dish for any occasion.