
Chow Chow Recipe
Introduction
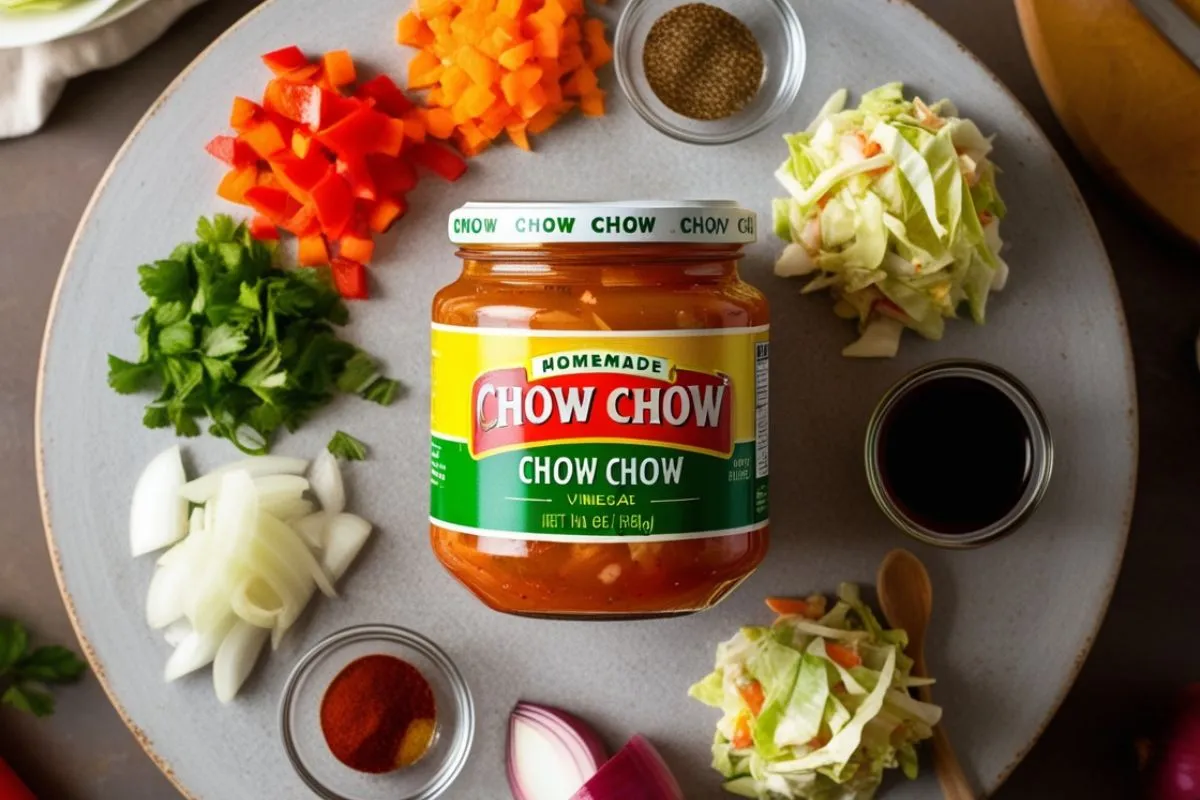
Chow chow is a classic Southern relish made from a blend of vegetables like cabbage, peppers, onions, and carrots, all pickled in a tangy, flavorful brine. Known for its bold flavors and versatility, chow chow adds a zesty crunch to just about any dish, from fried chicken to hot dogs to beans and collard greens. Whether you’re new to making homemade pickles or an experienced canner, this chow chow recipe is sure to become a staple in your kitchen.
In this article, we’ll walk you through the steps for making your very own homemade chow chow, from selecting the right vegetables to canning and storage tips. We’ll also share some variations of the classic recipe to customize it to your liking!

Table of Contents
What Is Chow Chow?
Chow chow is a pickled relish that originated in the South and is often made with a variety of chopped vegetables. The mix is then seasoned with spices like mustard seeds, turmeric, and celery seeds, giving it a signature tangy, savory flavor. Historically, chow chow was used as a way to preserve garden vegetables at the end of the growing season, and it’s become a beloved condiment in Southern cuisine.
The texture of chow chow is chunky, and its flavor is a perfect balance of sweet, sour, and spicy. It’s often served alongside meats, beans, and even cornbread, making it a versatile and delicious addition to many meals.
Ingredients
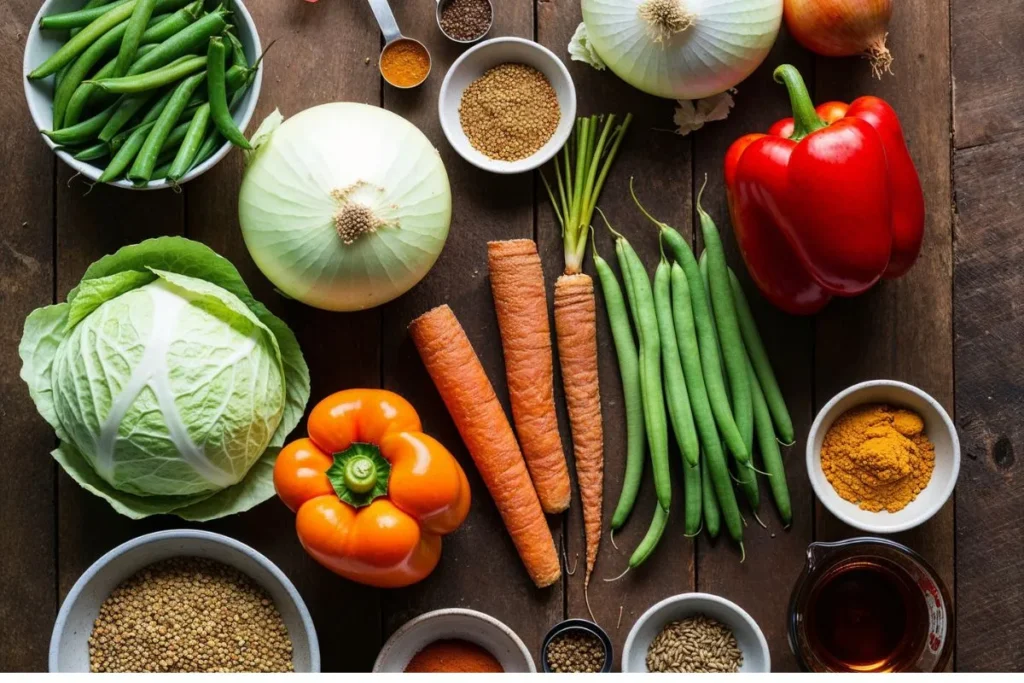
This recipe is easy to follow and uses simple, fresh ingredients you can find at most grocery stores. Here’s what you’ll need:
- 1 medium head of cabbage, finely chopped
- 1 large bell pepper, chopped
- 1 medium onion, chopped
- 2 medium carrots, grated
- 2 cups green beans, chopped (optional)
- 2 tablespoons kosher salt
- 1 tablespoon mustard seeds
- 1 tablespoon celery seeds
- 1 teaspoon ground turmeric
- 1/2 teaspoon ground cinnamon
- 1/4 teaspoon ground cloves
- 1/2 teaspoon ground ginger
- 1 1/2 cups apple cider vinegar
- 1 1/2 cups white vinegar
- 1 1/2 cups granulated sugar
- 1/2 cup water
- half teaspoon crushed red pepper flakes (optional for heat)
Step-by-Step Instructions for Making Recipe
Making homemade chow chow may take a little time, but the process is straightforward. Let’s dive into the steps to create your own tangy relish.
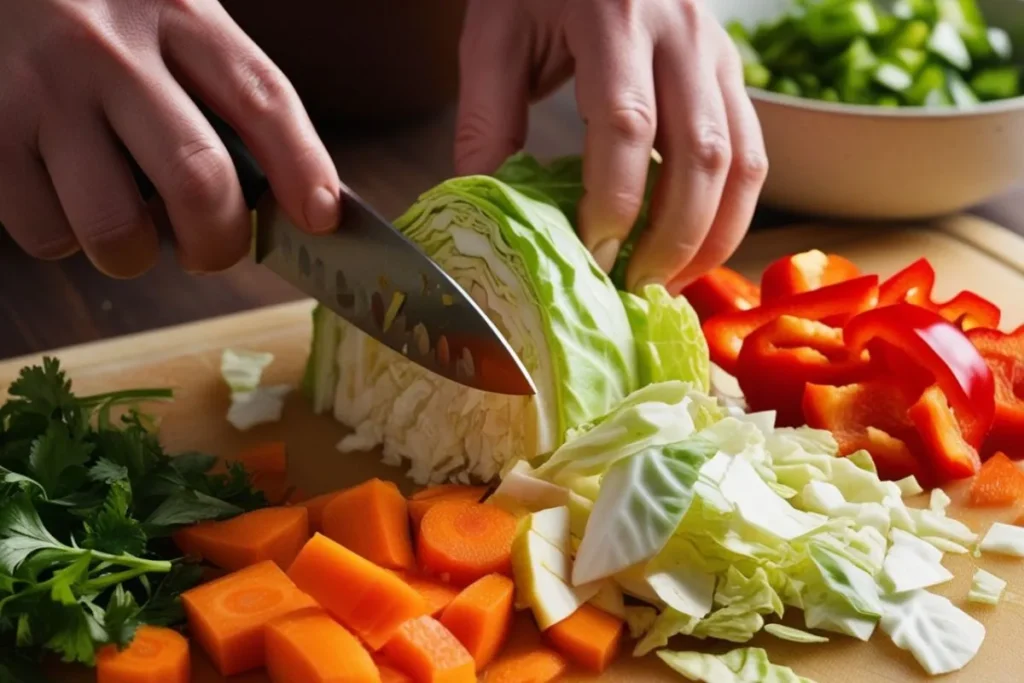
Step 1: Prepare the Vegetables
Start by chopping the cabbage, bell pepper, onion, and carrots into small, bite-sized pieces. If you’re using green beans, chop them into 1-inch pieces. The key is to get the vegetables as uniform as possible so they cook evenly.
Once everything is chopped, place the vegetables into a large bowl and sprinkle with 2 tablespoons kosher salt. Toss to combine, then let the mixture sit for 2-3 hours. The salt helps draw moisture out of the vegetables, making them easier to pickle and giving the chow chow its signature crunch.
Step 2: Drain and Rinse the Vegetables
After the vegetables have rested, you’ll notice liquid has formed at the bottom of the bowl. Drain the vegetables in a colander, then rinse them under cold water to remove excess salt. This helps prevent the chow chow from being too salty. Once rinsed, set the vegetables aside to drain completely.
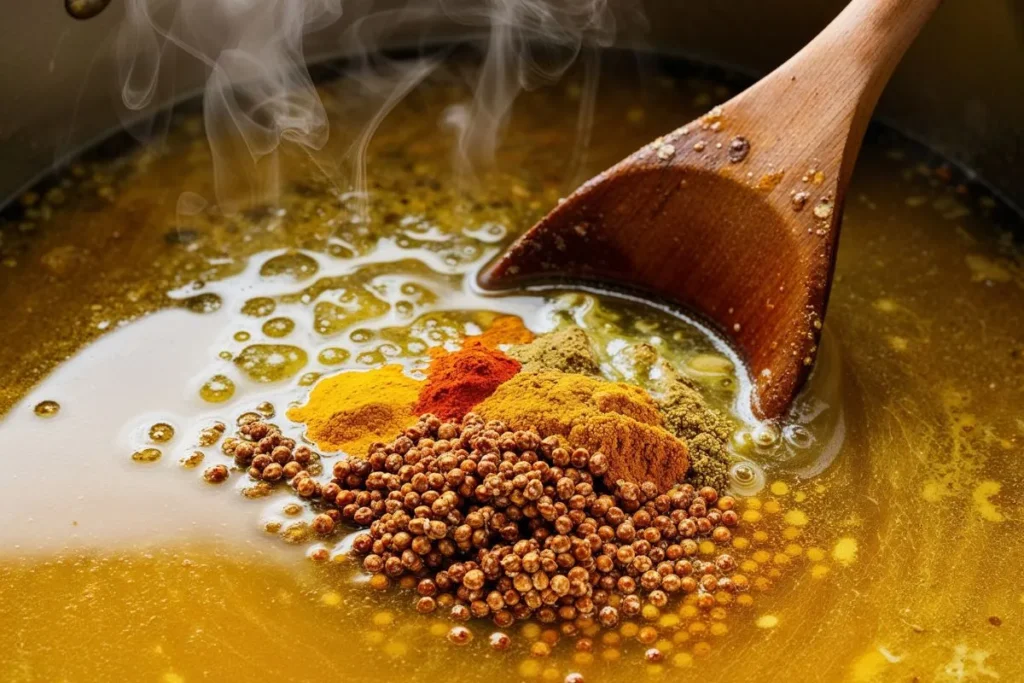
Step 3: Prepare the Brine

In a large saucepan or pot, mix together 1 1/2 cups apple cider vinegar, 1 1/2 cups white vinegar, 1/2 cup water, and 1 1/2 cups granulated sugar. mix the mixture until the sugar is fully dissolved. Once dissolved, add the mustard seeds, celery seeds, turmeric, cinnamon, cloves, and ginger to the pot and stir to combine. For a bit of heat, you can also add 1/2 teaspoon crushed red pepper flakes to the brine.
Bring the mixture to a boil over medium-high heat, stirring occasionally to ensure the spices and sugar are well combined. Once it’s boiling, reduce the heat and let it simmer for 5 minutes to allow the spices to infuse the brine with flavor.
Step 4: Cook the Vegetables
Add the drained vegetables to the brine mixture and stir to combine. Let the mixture simmer for about 10-15 minutes, The vegetables should soften slightly but still maintain some of their crunch. The brine should thicken a little as it cooks, coating the vegetables with the flavorful liquid.
Step 5: Sterilize the Jars
While the vegetables are simmering, it’s time to sterilize your jars and lids. Wash the jars thoroughly with hot soapy water and rinse well. Place the jars and lids in a large pot of boiling water for about 10 minutes to sterilize them, or run them through the dishwasher on a hot cycle. Once sterilized, carefully remove them from the water and let them dry.
Step 6: Pack the Jars
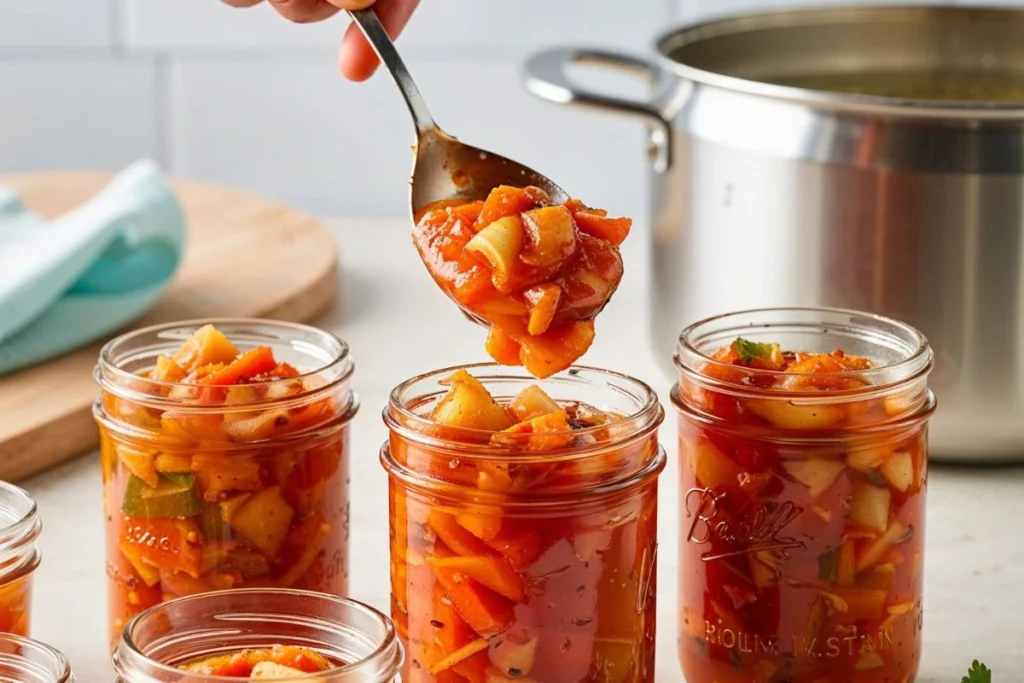
Using a slotted spoon or ladle, pack the hot vegetables into your sterilized jars, leaving about 1/2 inch of headspace at the top of each jar. Pour the hot brine over the vegetables, ensuring they are completely covered with the liquid. You may need to gently tap the jars on the counter to remove any air bubbles.
Wipe the rims of the jars with a clean, damp cloth to remove any residue and ensure a tight, secure seal.
Step 7: Seal and Process the Jars

Place the sterilized lids onto the jars and screw on the metal bands until they are securely tightened with your fingertips. Process the jars in a boiling water bath for 10-15 minutes to ensure they are sealed properly.
To process, carefully lower the jars into a pot of boiling water, making sure the water covers the jars by at least an inch. Once the water returns to a boil, start your timer and process for the recommended time.
Step 8: Cool and Store
After processing, remove the jars from the boiling water and place them on a clean kitchen towel to cool. As the jars cool, a “pop” sound will indicate that the lids have successfully sealed. If any jars do not seal, you can store them in the refrigerator and use them within a few weeks.
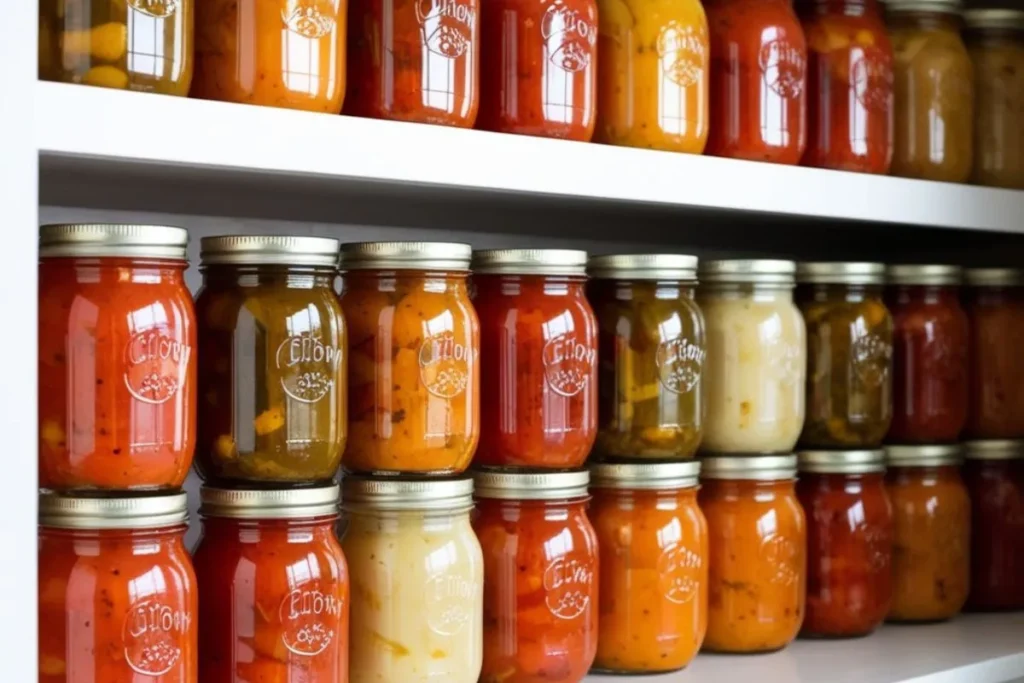
Once all jars are sealed, store the chow chow in a cool, dark place for 2-3 weeks before opening to allow the flavors to meld. After opening, refrigerate and enjoy within 2-3 weeks.
Troubleshooting Tips
While making chow chow is fairly simple, there are a few common issues that you might encounter. Here’s how to handle them:
- Too Salty: If your chow chow tastes too salty, make sure you rinse the vegetables thoroughly after salting. You can also dilute the brine slightly by adding a little more water or vinegar.
- Not Crunchy Enough: For firmer vegetables, be sure not to overcook them in the brine. They should only simmer for about 10-15 minutes. If you prefer a crunchier texture, you can also increase the salt rest time and reduce the simmering time.
- Brine Too Thin: If your brine isn’t thickening, simmer it for a few extra minutes. You can also make a slurry with a bit of cornstarch or flour and add it to the brine to help thicken it.
- Jars Didn’t Seal Properly: If your jars don’t seal, make sure the rims are clean before applying the lids. You can also reprocess the jars or store them in the fridge.
Fun Chow Chow Variations
Feel free to experiment with your chow chow recipe to create new flavors. Here are some ideas:
- Spicy Chow Chow: Add extra red pepper flakes or a few chopped fresh jalapeños to the brine for an extra kick.
- Sweet and Sour Chow Chow: Increase the sugar slightly or add a touch of honey for a sweeter version of the classic.
- Carrot and Onion Chow Chow: For a more colorful version, add more grated carrots and onions to the mix for extra texture and flavor.
- Tomato-Based Chow Chow: Add some chopped tomatoes to the mix for a slightly different flavor profile.
How to Serve Chow Chow
Chow chow is incredibly versatile and can be used in a variety of dishes. Here are several ways to enjoy it:
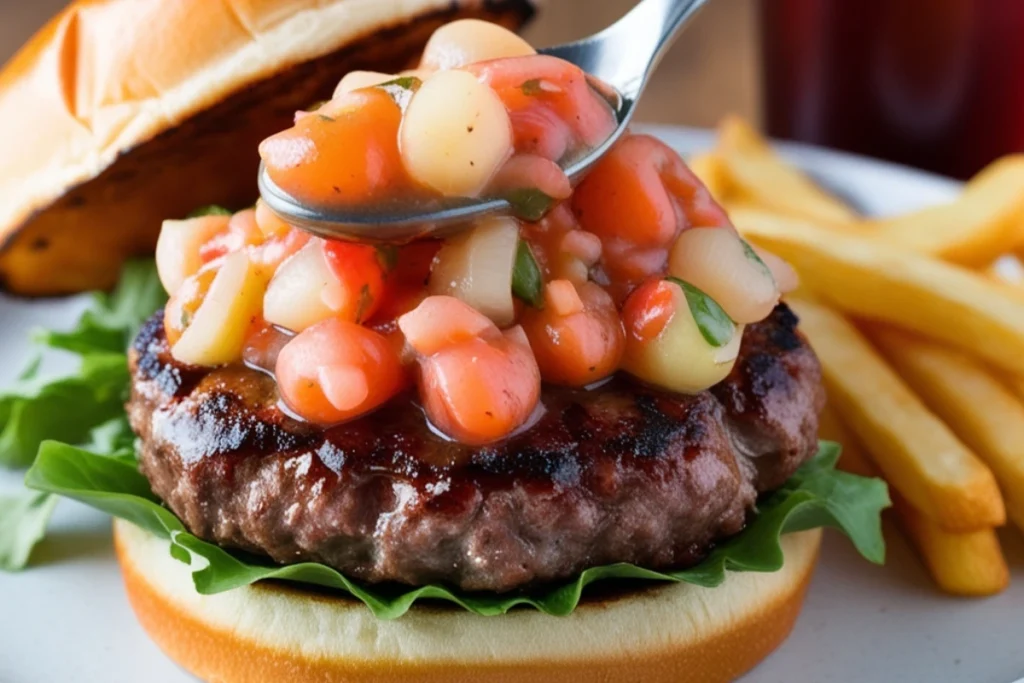
- As a condiment: Serve chow chow on top of grilled meats, burgers, or hot dogs for a tangy kick.
- With beans: Pair chow chow with black-eyed peas, pinto beans, or collard greens for a flavorful side dish.
- In sandwiches: Add it to your favorite sandwiches or wraps for a crunchy, savory contrast.
- With cornbread: A spoonful of chow chow alongside cornbread makes for a comforting Southern meal.
The Health Benefits of Homemade Chow Chow
Homemade chow chow isn’t just a delicious condiment—it can also be a healthier alternative to many store-bought options. Making it yourself gives you full control over the ingredients, ensuring it’s free from artificial preservatives, excessive sugar, or unhealthy additives. The blend of fresh, pickled vegetables, such as cabbage, peppers, and carrots, offers various nutritional benefits. For example, cabbage provides fiber, vitamin C, and antioxidants, which can contribute to overall health when included in a balanced diet.
Spices like turmeric and ginger, often used in chow chow, contain compounds that may have anti-inflammatory properties. Additionally, apple cider vinegar in the brine may support digestion and contribute to gut health as part of a balanced eating plan.
Not only does homemade chow chow add bold, tangy flavors to your meals, but it also aligns with today’s trend of eating more consciously. By crafting your own chow chow, you can enjoy the vibrant flavors of Southern cuisine while nourishing your body with fresh, wholesome ingredients.
Disclaimer:
“The nutritional benefits described are based on the general properties of the ingredients and may vary depending on preparation methods and portion sizes. This information is intended for informational purposes only and is not a substitute for professional dietary or medical advice. Individual dietary needs and health outcomes vary. Consult a healthcare professional for personalized advice.”
Chow Chow and Sustainability: Reducing Food Waste
In addition to being a healthful choice, homemade chow chow aligns perfectly with sustainable eating practices. By canning your own chow chow, you’re participating in the age-old tradition of preserving seasonal produce before it spoils. This not only reduces food waste but also helps support local agriculture. Many people are turning to their home gardens or local farmers’ markets to source the ingredients for chow chow, helping to minimize the environmental footprint associated with industrial agriculture and long-distance food transportation.
Making chow chow at home means using fresh, in-season vegetables, and if you grow them yourself, you can reduce packaging waste and enjoy a direct connection to your food. This simple act of food preservation is a meaningful step toward a more sustainable, eco-conscious lifestyle—one jar of chow chow at a time.
The Joy of Sharing Homemade Chow Chow
Another compelling reason to make your own chow chow is the opportunity to share it with others. Homemade preserves, like chow chow, make for thoughtful, personal gifts that carry a sense of love and care.
Whether you’re giving a jar to a friend, family member, or neighbor, it’s a beautiful way to share a taste of your culture and culinary heritage. In a world where the act of giving often feels impersonal, a jar of homemade chow chow shows thoughtfulness and effort. It’s a gift that doesn’t just fill the stomach—it fills the heart, too.And when you’re able to pass along a recipe that’s been in your family for generations, you’re not just sharing food, you’re sharing a piece of history.
Conclusion
Chow chow is a delicious, tangy Southern relish that’s perfect for canning and enjoying year-round. Whether you’re preserving the last of your garden vegetables or just love bold, zesty flavors, this recipe will help you create a jar of homemade chow chow that’s perfect for a variety of dishes. Experiment with the recipe to suit your tastes, and don’t forget to enjoy it with your favorite comfort foods!