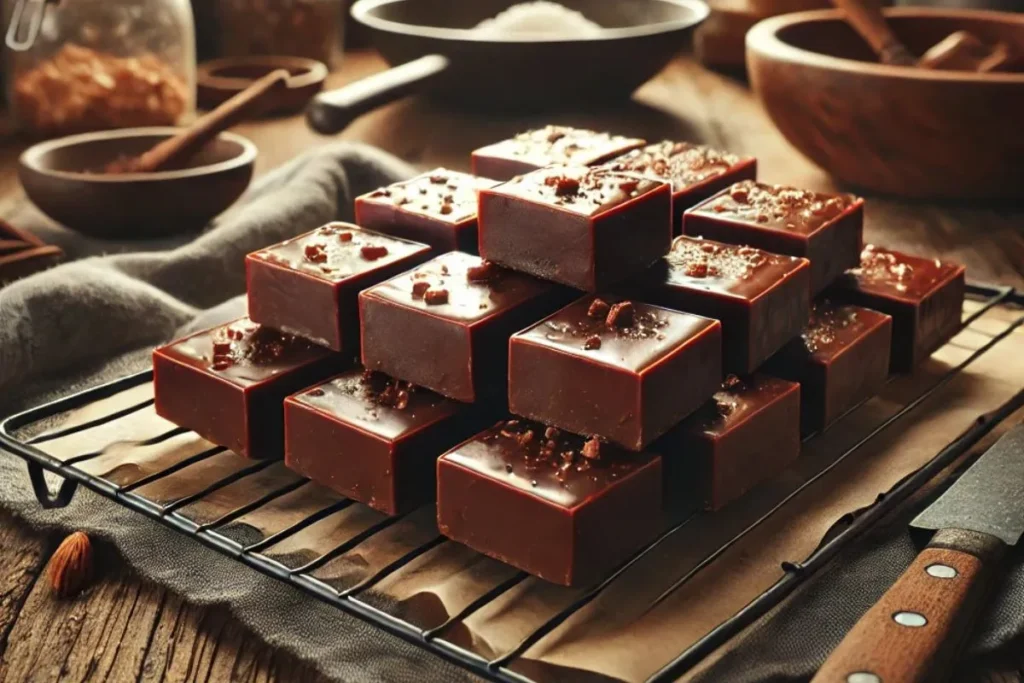
Easy Fudge Recipe
Introduction :Easy Fudge Recipe
Making fudge at home has never been easier, and with our easy fudge recipe, you’ll master the art of this sweet treat without hassle. Fudge has become a beloved dessert worldwide, cherished for its creamy, melt-in-your-mouth texture and the endless ways to customize it with flavors and toppings. Whether you’re preparing treats for a holiday gathering or craving something sweet on a cozy evening, a reliable, easy fudge recipe can be your go-to solution.
In this guide, we’ll be guiding you through each stage, from choosing ingredients to variations, troubleshooting, and storage. By following this easy fudge recipe, you’ll be able to impress friends, family, and yourself with a delicious homemade treat. Plus, you’ll find answers to frequently asked questions and tips on storing, gifting, and serving fudge in creative ways.
Table of Contents
1. Why You’ll Love This Easy Fudge Recipe

Fudge is one of those desserts that feels luxurious and decadent, yet can be surprisingly easy to make at home. Traditional fudge recipes often require a candy thermometer and precise cooking temperatures to get that ideal texture. However, this easy fudge recipe removes the guesswork with simple ingredients and steps that guarantee success every time.
Using basic pantry staples and a straightforward approach, this recipe creates that smooth, creamy consistency fudge is known for without the need for complicated steps or special equipment. Plus, it only takes a few minutes to prepare, making it perfect for last-minute desserts, holiday gifts, or just a sweet treat to enjoy at home.
2. The Origins of Fudge
The history of fudge’s origins can be traced back to the 1800s. It’s widely believed that fudge was invented in the United States as a happy accident—possibly a mistake while trying to make caramel. The word “fudge” itself hints at its origin, as it was a term used to mean “to make a mistake” or “to improvise.” Fudge quickly became popular in the early 20th century and was especially cherished by college students and their families, often made for holidays, celebrations, and family gatherings.
Today, fudge is loved worldwide for its rich, decadent flavor and its versatility in terms of flavors and ingredients. This easy fudge recipe keeps with the tradition of simple, accessible ingredients while allowing you to add your personal flair to each batch.
3. Ingredients and Component Selection
Achieving perfect fudge requires the right ingredients, but thankfully, this easy fudge recipe keeps things simple:
Key Ingredients and Tips for Selection
- Chocolate Chips: Look for semi-sweet or dark chocolate chips for a well-balanced flavor. Dark chocolate can be used if you prefer a more intense taste, and using high-quality chocolate will enhance the final flavor.
- Sweetened Condensed Milk: This thick, sugary milk is essential for creating a smooth, creamy fudge. The sugar content also helps the fudge set correctly. Make sure to avoid evaporated milk, as it doesn’t contain enough sugar to achieve the same results.
- Butter: A small amount of unsalted butter adds richness and a smoother, creamier texture. European-style butter can add an extra layer of creaminess due to its higher fat content.
- Vanilla Extract: Pure vanilla extract adds a warm, rounded flavor that complements the chocolate. Avoid imitation vanilla, as it may have a less authentic taste.
Optional Add-Ins and Flavor Enhancers
Adding extra ingredients allows you to personalize your fudge:
- Nuts (e.g., walnuts, pecans, almonds): Add texture and contrast to the smooth fudge.
- Sea Salt: Just a pinch sprinkled on top balances the sweetness and elevates the flavor.
- Spices and Extracts: For added complexity, try a sprinkle of cinnamon or a touch of peppermint extract or even a small amount of espresso powder to enhance the chocolate notes.
4. Step-by-Step Instructions for Perfect Fudge
With these easy-to-follow steps, you’ll have homemade fudge ready in no time.
Step 1: Prepare Your Pan
Prepare an 8×8-inch pan by lining it with parchment paper. Let the paper overhang on the sides to make it easy to lift the fudge out once it has set. This simple step helps with clean-up and ensures perfect edges when slicing the fudge.
Step 2: Melt the Chocolate and Butter
In a medium saucepan, combine two cups of chocolate chips, one can of sweetened condensed milk, and two tablespoons of butter. Gently heat on low, stirring continuously until everything is melted and smooth. Be sure to keep the heat low to prevent the chocolate from scorching, as high heat can cause the chocolate to seize and create a grainy texture.
Step 3: Add Vanilla Extract
After removing from the heat, add one teaspoon of vanilla extract. Stir well to incorporate. This is also the time to add any other flavor extracts or spices if you’re experimenting with different flavors.
Step 4: Pour and Set
Pour the melted chocolate mixture into your prepared pan, spreading it evenly with a spatula. If you’re adding any extras like nuts, marshmallows, or crushed cookies, sprinkle them on top and press gently to ensure they stick.
Step 5: Chill and Slice
Place the pan into the refrigerator and let the fudge chill for at least two hours until firm. Once set, lift the fudge using the parchment paper, then remove the fudge from the pan, set it on a cutting board, and slice it with a sharp knife.
5. Common Variations for Easy Fudge Recipe
One of the best things about fudge is its versatility. Once you’ve mastered this easy fudge recipe, try experimenting with flavors, toppings, and mix-ins to create unique variations.
Flavor Variations
- Peanut Butter Fudge: Before the fudge sets, drizzle warm peanut butter over the fudge and use a knife to swirl gently to create a marbled effect.
- Mint Chocolate Fudge: Add half a teaspoon of peppermint extract to the chocolate mixture, then sprinkle crushed peppermint candies on top to add a festive flair.
- Cookies and Cream: Add one cup of crushed chocolate sandwich cookies to the chocolate mixture, stirring to combine before setting.
- Salted Caramel Swirl: Add dollops of caramel on top of the fudge before it sets, and swirl lightly with a knife.
Texture Variations
- Rocky Road Fudge: Mix in half a cup of mini marshmallows and half a cup of chopped walnuts or almonds for a crunchy, chewy texture.
- Espresso Fudge: Stir in one teaspoon of espresso powder to give the fudge a mocha flavor.
- Fruit and Nut Fudge: Add half a cup of dried cranberries and chopped pistachios for a festive holiday variation.
Experimenting with flavors and textures can turn this easy fudge recipe into something entirely unique and personal.
6. Troubleshooting Your Fudge: Common Issues and Fixes
Even with an easy fudge recipe, a few common problems can arise. Here’s how to troubleshoot them:
Issue 1: Fudge Won’t Set
If your fudge feels soft even after chilling, it may be due to incorrect chocolate-to-condensed milk proportions or insufficient chilling time. Make sure to measure ingredients precisely and chill for at least two hours.
Issue 2: Grainy Texture
A grainy or crumbly texture typically results from overheating the mixture. Use low heat and stir constantly for a smooth, creamy fudge.
Issue 3: Fudge Tastes Too Sweet
If you prefer a less sweet fudge, substitute semi-sweet chocolate chips with dark chocolate (70% cocoa or higher).
Issue 4: Fudge Is Too Hard
Overcooking the chocolate can cause a tougher texture. To soften it, add a small amount of warmed condensed milk and stir until it’s incorporated.
7. Frequently Asked Questions (FAQs)
Here are answers to some frequently asked questions about this easy fudge recipe:
Q1: Can I make this easy fudge recipe without dairy?
Yes! Substitute condensed milk with a dairy-free alternative like coconut condensed milk and use vegan butter.
Q2: How long does homemade fudge last?
Fudge will remain fresh for up to two weeks when refrigerated. If you need longer storage, freeze it for up to three months.
Q3: Can I double the recipe?
Yes ! Simply use a larger pan and increase ingredient quantities proportionally.
Q4: Is it possible to substitute with another type of chocolate?
Absolutely! Milk chocolate will result in a sweeter fudge, while dark chocolate gives a richer, more intense flavor.
8. Storing and Using Your Homemade Fudge
To keep your fudge at its best, follow these storage tips:
- Refrigeration: Store in an airtight container in the refrigerator for up to 14 days . To prevent pieces from sticking, place parchment paper between layers.
- Freezing: You can freeze fudge for as long as three months. Individually wrap fudge pieces in wax paper, then place them in a freezer-safe bag.
- Serving Tips: Serve fudge as a dessert at parties, gift it during holidays, or use it as a topping for ice cream.
- Creative Uses: Cut fudge into shapes with cookie cutters for a fun presentation, especially during holidays!

